PACHAMAMAY LLC
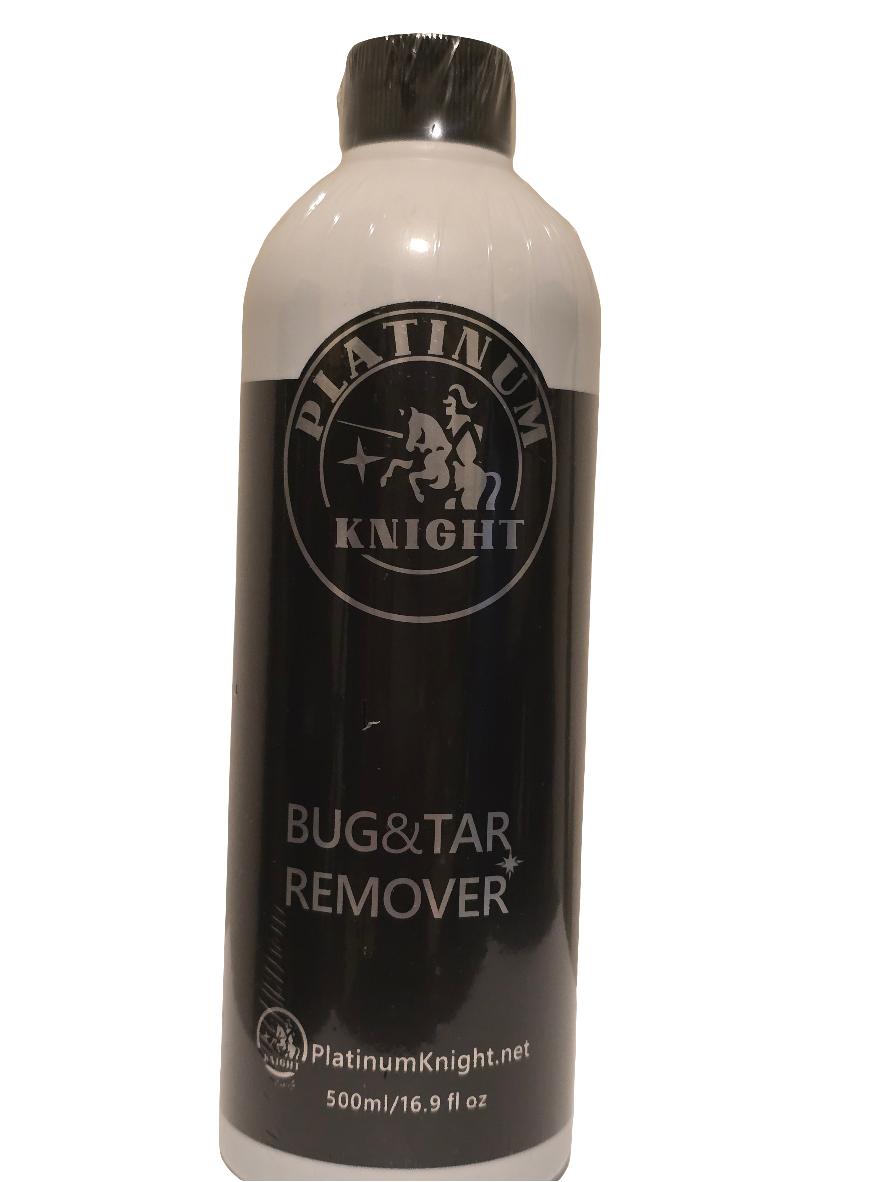
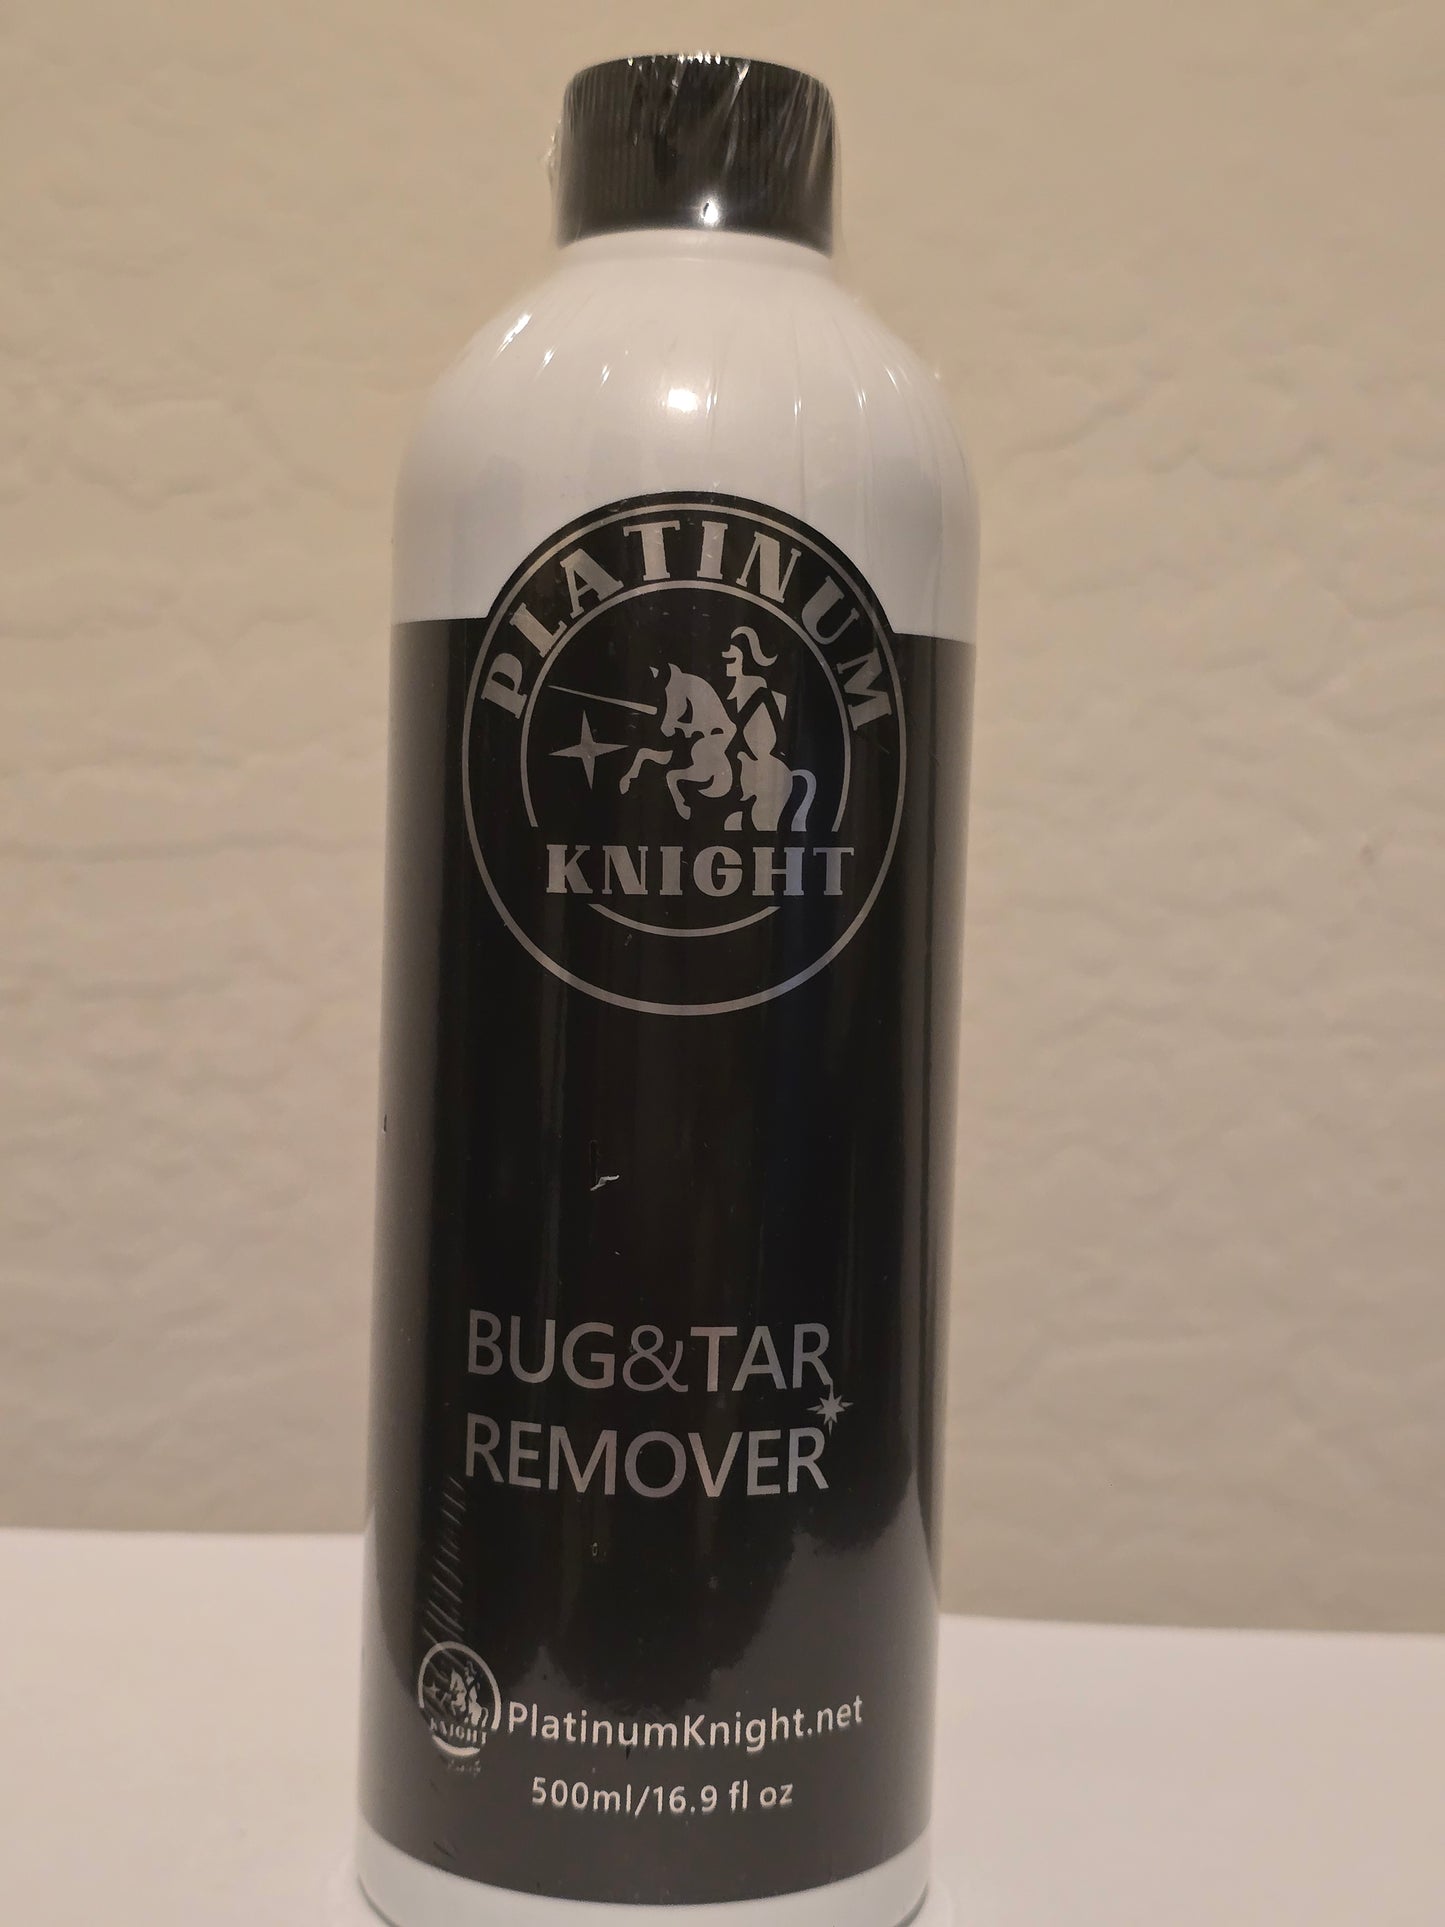
Bug&tar remover
Bug&tar remover
Couldn't load pickup availability
Here’s a practical Bug & Tar Remover Guide so you can keep your paint smooth and protected:
🐞🚗 Bug & Tar Removal – Step by Step
1. Preparation
-
Work in the shade and make sure the surface is cool to the touch.
-
Gather supplies:
-
Dedicated bug & tar remover spray or gel (safe for clear coat).
-
Microfiber towels.
-
Soft sponge or bug sponge (not abrasive).
-
Optional: Clay bar or clay mitt (for stubborn spots).
-
Bucket with car wash soap & water (for rinsing after).
-
2. Initial Rinse
-
Spray the front bumper, grille, mirrors, and lower panels with water to loosen debris.
-
This prevents extra rubbing and scratches.
3. Apply Bug & Tar Remover
-
Spray or apply the remover directly onto the bug splatter or tar spots.
-
Let it dwell for 1–2 minutes (follow product instructions—don’t let it dry).
4. Wipe or Gently Agitate
-
Use a microfiber towel or bug sponge to gently wipe away the softened residue.
-
For tar, press the towel against it to dissolve before wiping—don’t scrape.
5. Rinse & Wash
-
Rinse the treated area with water.
-
Wash with car shampoo to remove any chemical residue.
6. Inspect & Repeat if Needed
-
For stubborn tar/bug stains, repeat the process.
-
Use a clay bar if needed for bonded contaminants.
7. Protect the Paint
-
Apply a wax, sealant, or ceramic spray after cleaning.
-
This creates a slick surface so bugs/tar don’t stick as hard next time.
Share


